
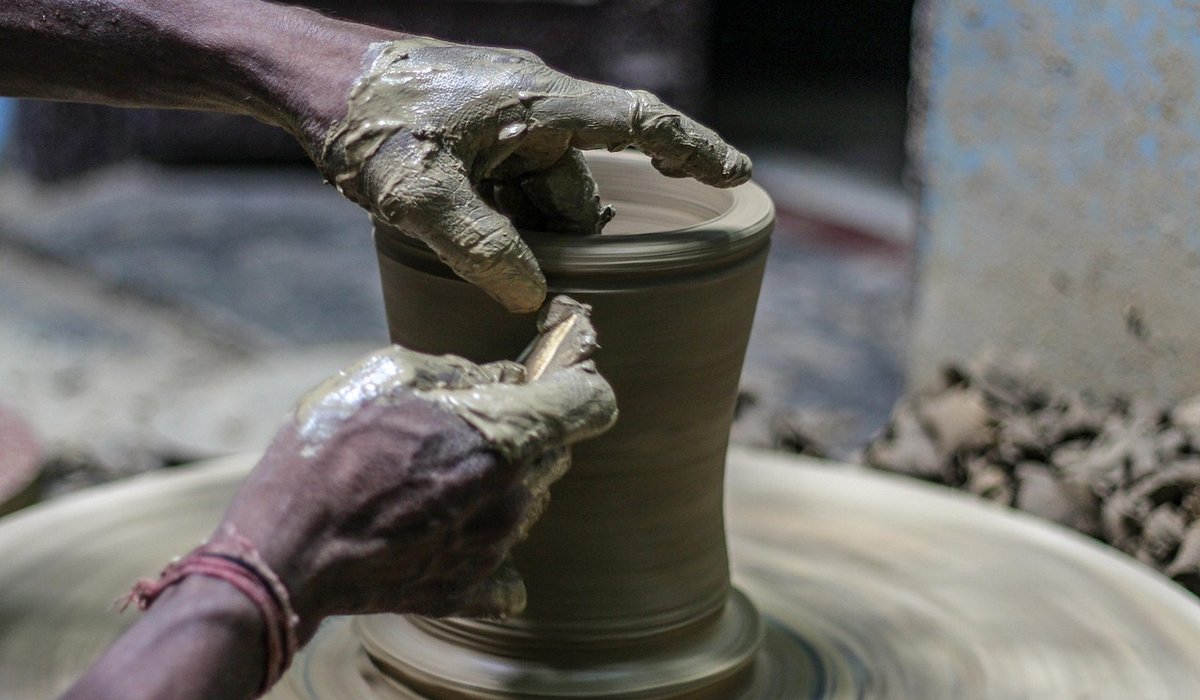
Decorating Garden Pots with Slip and Oxides
There is something deeply satisfying about gardening beside a pot you decorated yourself. Slip and oxide decoration gives a natural, integrated finish – colour that becomes part of the clay, not a painted surface. For outdoor pots, this matters. Rain, frost, and sun will soften and patinate the surface rather than flake it. Here is how to apply coloured slips and oxide washes to leather-hard pots for beautiful, durable results.
Why Slip and Oxides Suit Garden Pots
Slip is clay mixed with water to a creamy consistency. Add metal oxides or ceramic stains, and you have a liquid clay paint that bonds during firing. Iron oxide gives rusts and browns, copper oxide greens, cobalt oxide deep blues, manganese dioxide purples and aubergines. Applied thinly, these washes sink into the surface, highlighting every throw line and texture.
Unlike acrylics or masonry paints, slip and oxides do not peel. They are fired into the ceramic, so they weather gracefully. A pot may darken with rain, grow moss in the crevices, and still look superb after a decade outdoors. That is the natural finish many gardeners seek.
Working on Leather-Hard Clay
Timing is everything. Leather-hard is when clay has dried enough to hold its shape but still feels cool and slightly damp. Press your thumb gently – it should leave a faint indentation, not squish. The clay is firm enough to handle without distorting, yet porous enough to accept slip and oxide washes.
If the pot is too wet, slip slides off or cracks as the clay shrinks. If too dry, the slip flakes away. Work on a banding wheel or turntable so you can rotate the pot evenly. Keep a spray bottle handy to mist the surface if it starts to dry. For large pots, work in sections, covering the rest with plastic to keep it leather-hard.
Mixing and Applying Coloured Slips
Start with your own clay body. Dry some scraps, break them up, and slake in water until you have a thick cream. Sieve to remove lumps. Add colourant at 5–10% of the dry weight of the slip – for example, 50g of iron oxide to 1kg of dry slip. Mix thoroughly and sieve again.
Application methods for garden pots:
- Brushing: soft wide brush, two or three thin coats, drying between.
- Dipping: thinner slip, quick dip or pour while turning for even colour.
- Trailing: slip trailer or fine-nozzle bottle for lines, dots, and spirals.
- Sponging: natural sea sponge for a mottled, organic texture.
- Sgraffito: carve through leather-hard slip to reveal the clay body beneath.
Oxide Washes for Natural Depth
Oxide washes are thinner than slip and are applied after slip has dried, or directly onto bare leather-hard clay. Mix oxide with water to a skimmed-milk consistency. A drop of gum arabic helps. Brush on, then wipe back with a damp sponge to leave colour in recesses and texture.
Try these combinations:
- Iron oxide over a pale slip: warm rust and honey tones.
- Copper oxide with a touch of cobalt: soft sage and teal greens.
- Manganese dioxide over a buff clay: deep plum and charcoal shades.
- Rutile for creamy, speckled highlights.
Layer washes for complexity. Always test on a tile first, as colours intensify during firing. Note: copper and manganese can leach into soil and affect plant growth. Apply only to the exterior, or seal the interior with a glaze.
Firing and Weatherproofing Your Pots
Once decorated, dry the pot slowly – under loose plastic for a few days, then in the open air. Fire to bisque, around 1000°C. Then choose: leave the exterior unglazed for a breathable finish, or apply a glaze. For garden pots, a glazed interior with an unglazed, slip-decorated exterior works well.
Frost resistance is essential. Unglazed earthenware will crack unless sealed. Stoneware fired to 1220–1280°C vitrifies and becomes waterproof. For earthenware, seal the outside with a masonry sealant after firing. Raise pots on feet so they do not sit in standing water, and avoid saucers through winter.
Design Ideas for Outdoor Plant Displays
Slip and oxide decoration can be simple or intricate. A few ideas:
- Terracotta and rust: thin iron oxide wash, wiped back. Plant with rosemary or thyme.
- Copper verdigris: sponge copper oxide over pale slip, dab with wet sponge. Looks stunning with hostas.
- Sgraffito ferns: cover in dark slip, carve fern shapes to reveal lighter clay. Perfect for shade.
- Banded oxides: masking tape for horizontal bands, paint oxide washes between. Remove tape for crisp lines.
- Textured drips: thick slip, then trail oxide washes down the sides for a rain-streaked effect.
Each pot will be unique. The clay, application, and kiln add their own character. That is the joy – you create something that grows more beautiful as the garden does.
tag: Garden Pottery

Sophie Ashworth Author
Learn to centre clay consistently by applying steady pressure and keeping your elbows locked against your body for better control.
YOU MAY ALSO LIKE
Centring Clay on the Wheel for Beginners
Sep 26
10Master consistent wall thickness by pinching evenly and pulling slowly from the base to the rim with steady hand pressure.
read more
How to Pull Up Even Walls on the Wheel
Sep 22
10Turn leather-hard pots on the wheel to refine foot rings and create balanced forms without distorting delicate walls.
read moreWheel Throwing
-

ERRIC CATONA
Create bowls and cups by pinching clay between thumb and fingers, then smooth surfaces with a damp sponge.
May 19, 2016 at 5.12 pm
Reply
ERRIC CATONA
Build height gradually by joining coils with slip and scoring, blending each seam before the clay dries completely.
May 19, 2016 at 5.12 pm
Reply -
ERRIC CATONA
Construct sturdy boxes by cutting accurate slabs and joining mitred edges with slip, then reinforce internal corners for strength.
May 19, 2016 at 5.12 pm
Reply
Hand Building
Your email address will not be published.