
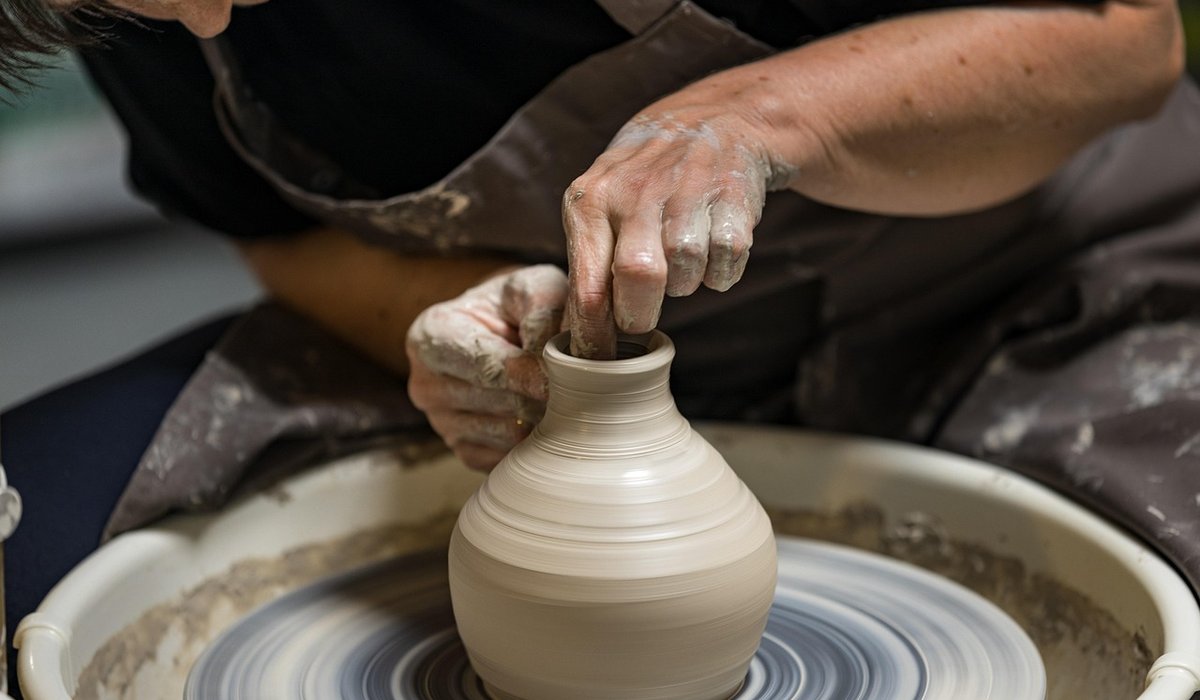
Dip Glazing Techniques for Even Coverage
Why Dip Glazing Rewards a Little Practice
Dip glazing is one of the most satisfying ways to finish a pot. Instead of brushing on layer after layer, you plunge the piece into a bucket of glaze, hold it for a breath, and lift it out. The result is a smooth, even coat that follows every curve. But the technique has a rhythm. Go too slowly and the glaze builds up thickly at the bottom. Rush and you leave thin patches. The secret is simple: dip quickly, stir the bucket often, and wipe the base clean before firing. Get those three habits right and you will wonder why you ever fussed with a brush.
Getting the Glaze Bucket Ready
Before you dip a single pot, the glaze itself needs attention. A bucket that has been sitting for a day will have settled. Water rises to the top, heavier materials sink. If you dip without stirring, you are dipping into inconsistent slurry. Stir thoroughly with a sturdy stick or a whisk, reaching the bottom corners. Do this every ten to fifteen minutes while you work, not just at the start.
Aim for a consistency like single cream. If the glaze is too thick, it will drag and leave ridges. Too thin and it will run off, leaving a watery coat. A cheap hydrometer helps, but your hand is a good judge. Dip a clean finger in and pull it out. The glaze should coat your skin evenly, not drip off in sheets. Sieve the glaze through an 80-mesh sieve if you spot lumps. Stirring often is the single most important habit for even coverage.
The Quick Dip: Timing and Technique
Now for the dip itself. Speed is your friend. For most glazes, a two- to three-second immersion is plenty. Hold the pot with tongs or your fingers at the rim, lower it at a slight angle so air can escape, then lift it out in one smooth motion. Do not pause. Do not bob it up and down. A quick in-and-out gives a uniform layer because the glaze has less time to thicken on the surface.
If you are glazing a bowl, dip it upside down, then right it and dip the rim separately. For a mug, hold the handle and dip the body, then use a small cup to pour glaze inside. Keep your movements brisk and confident. A hesitant dip leaves marks. After lifting, let the excess drip back into the bucket for a moment, then set the pot on a clean board. Rotate it gently as it dries to stop drips forming on one side.
Wiping the Base Clean
This step is non-negotiable. Glaze on the foot ring will fuse your pot to the kiln shelf, and that is a job you do not want. As soon as the glaze has lost its wet shine, wipe the base with a damp sponge. You want a clean margin of three to five millimetres around the foot. For a very precise line, paint the foot with wax resist before dipping. The wax burns away in the firing, leaving a crisp edge.
Do not wait until the pot is bone dry. Wiping while the glaze is still slightly damp is easier and less likely to chip the glaze edge. Use a small sponge and rinse it often. If you accidentally wipe too high, touch up with a brush and a little glaze. A clean base is the mark of a thoughtful potter.
Dip Glazing for Garden Pots and Planters
Garden pots are often too large for a standard bucket, but you can still dip. Use a bucket wider than the pot, or dip in sections. Turn the pot slowly as you lower it, then lift and rotate so the glaze overlaps evenly. For very large planters, fill the inside with a plastic bag or cloth to stop glaze slopping in, then dip the outside only. A second dip after the first has dried will give a richer colour, but keep each dip quick. Two short dips beat one long soak every time.
Remember that garden pots face frost and rain. A thicker glaze layer on the rim and base helps, but avoid pooling that can craze. Stir the bucket before every dip, and wipe the base clean just as you would for a mug. If you are glazing a tall pot, dip the top half first, let it dry, then dip the bottom half, overlapping by a centimetre. Patience between dips pays off.
Fixing Uneven Patches and Drips
Even with good technique, you will sometimes get a thin patch or a drip. Do not panic. Before firing, you can repair most faults. Let the glaze dry completely, then sand the drip with fine wet-and-dry paper. For a thin patch, dab on a little glaze with a soft brush, then feather the edges with a damp finger. Do not re-dip the whole pot unless you want a thicker overall coat.
If the glaze looks mottled or powdery after drying, it may be too thin. Stir the bucket again and check the specific gravity. A quick second dip of just the affected area, using a small cup, can save the piece. And if you are ever unsure, test on a tile first. Every pot teaches you something. With a bit of practice, your dips will become instinctive, and your glaze coverage will be the envy of the workshop.
tag: Glazes

James Whitcombe Author
Create test tiles to compare layered glazes, recording results carefully to repeat successful colour and texture effects in future.
YOU MAY ALSO LIKE
Testing Glaze Combinations on Small Tiles
Aug 30
10Arrange pots with even spacing, placing taller pieces away from elements and using stilts where necessary for stable firing.
read more
Loading a Kiln for Balanced Firing
Aug 28
10Learn the differences between bisque and glaze firings, including temperature ranges, soak times and cooling rates for best outcomes.
read moreWheel Throwing
-

ERRIC CATONA
Identify causes of cracking, blistering and uneven glaze results by checking thermocouples, element health and firing schedules carefully.
May 19, 2016 at 5.12 pm
Reply
ERRIC CATONA
Stoneware offers durability and a range of firing colours, making it ideal for mugs, bowls and ovenware used daily.
May 19, 2016 at 5.12 pm
Reply -
ERRIC CATONA
Earthenware fires at lower temperatures with warm colours, while porcelain demands higher heat and careful handling for translucent results.
May 19, 2016 at 5.12 pm
Reply
Hand Building
Your email address will not be published.