
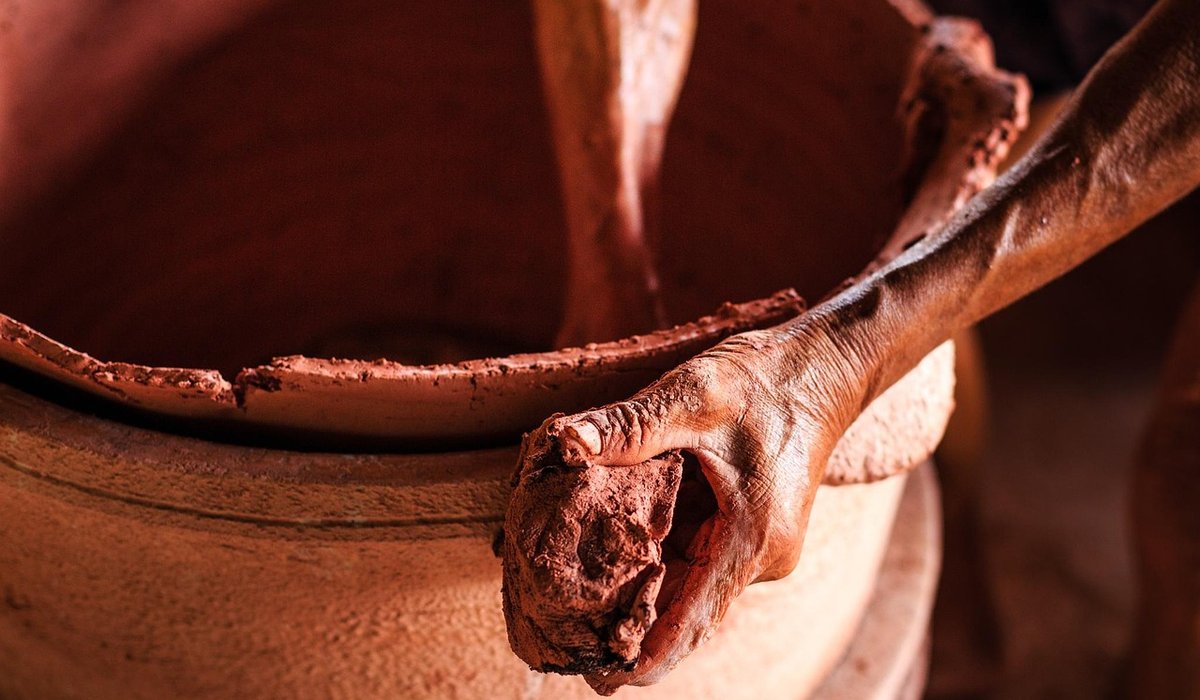
Pinching Pots for Simple Functional Tableware
Why Start with a Pinch Pot?
The pinch pot is the oldest pottery technique there is, and it remains one of the most useful. No wheel, no specialist equipment, no studio membership required — just clay, water, your hands and a little patience. What you get for that effort is tableware you will actually use: a small bowl for olives or salt, a deep one for soup, a handleless cup for tea or espresso, a set of little dishes for spices.
Pinched pots have a character that thrown pots rarely match. The walls are slightly irregular, the rims softly uneven, and the surface carries the memory of the fingers that made it. That is a feature, not a fault, and it is exactly why handmade tableware has such warmth on a laid table. Once you have made a dozen, you will find you can produce a matching set in an afternoon.
Choosing and Preparing Your Clay
For tableware, choose a mid-fire or high-fire stoneware rather than a low-fire earthenware. Stoneware is stronger, chips less readily, and vitrifies enough to be genuinely practical for daily use. A smooth, plastic body is easier to pinch than a heavily grogged one, though a little fine grog helps larger bowls hold their shape.
- For a small bowl or dish: around 150–200g of clay.
- For a soup bowl or mug-sized cup: around 250–350g.
- For a large serving bowl: 500g or more, though pinching this size takes real stamina.
Weigh your clay rather than guessing. If you want a set of four matching bowls, weigh four identical balls — that single habit does more for consistency than any amount of careful pinching later.
Wedge the clay first. Push and fold it against the bench for a minute or two to drive out trapped air, which causes blowouts in the kiln. Then roll it into a smooth ball between your palms. If the clay feels stiff or cracks at the edges when you press it, it is too dry; sprinkle a little water on the bench and knead it in. If it sticks to everything, it is too wet — leave it on a plaster bat or an old wooden board for twenty minutes.
The Pinch, Step by Step
Hold the ball in your non-dominant hand and press your thumb into the centre, stopping about 8–10mm short of the bottom. That base thickness matters: too thin and the pot cracks or feels fragile; too thick and it dries unevenly and may split.
Now pinch. Place your thumb inside and your index and middle fingers outside, and squeeze gently while rotating the ball steadily in your other hand. Work in a spiral, starting near the base and gradually moving up the walls. The movement should be a squeeze and release, not a scrape — you are stretching the clay, not thinning it in one spot.
- Go slowly. Aim for walls around 6–8mm thick; anything thinner than 5mm is risky for tableware.
- Rotate continuously. Stop turning and you will pinch a flat side.
- Support the outside with your fingers as you widen the bowl, so the walls do not slump.
- Keep your hands just damp. A dry palm drags and tears; a wet one turns the clay to slip.
To open the shape out into a bowl, gently press the walls outwards with your thumb from the inside while your other hand cradles the outside. For a cup, pinch taller rather than wider and keep the walls a touch thicker for strength.
Smoothing with a Damp Sponge
Once the form is right, tidy the surface. Use a fine-grained natural sponge, wrung out so it is barely damp — a soaking sponge will flood the clay and soften the walls you have just made. Wipe the inside in smooth, continuous strokes, following the curve of the pot, then do the same outside. Rinse the sponge often in a bowl of clean water.
Next, compress the rim. Run a damp fingertip around the top edge, pressing lightly downwards and inwards. This consolidates the clay, evens out the unevenness, and greatly reduces the chance of a rim chip later. If you want a rounded rim, roll it gently between damp thumb and forefinger. For a cup, you might flare the rim slightly outwards — it feels far better against the lip.
Drying, Trimming and Firing
Rest your pot on a wooden board or bat and cover it loosely with a plastic bag. Slow drying is essential. If a pinched pot dries too fast in a warm room or a draught, the thin rim dries before the base and cracks appear. Leave it for a day or two, then uncover it gradually.
When the clay is leather hard — firm but still slightly cool to the touch — tidy the base. Turn the pot upside down on a soft cloth and smooth the foot with a rib or the back of a spoon. You can also burnish the whole surface at this stage by rubbing it with a smooth stone or the back of a metal spoon; the result is a soft sheen that needs no glaze at all.
Once bone dry, the pots need a bisque firing, typically around 1000°C, followed by a glaze firing suited to your clay body — often 1220–1260°C for stoneware. If you do not own a kiln, most areas have a studio or pottery group that fires for a fee. Glaze the food-contact surfaces with a food-safe, lead-free glaze, and make sure the glaze fits the clay — a poor fit crazes, leaving a network of fine cracks that harbour bacteria. Leave the foot unglazed so the pot does not stick to the kiln shelf.
Making a Set That Works Together
Pinching rewards repetition. Make four or six pieces in one session, working on them in rotation as each stiffens — this is far easier than finishing one pot completely before starting the next. Weigh the clay every time, and note down the weight that gave you a bowl you liked.
Finish with a small test: fill your new cup with hot water and hold it. If it is comfortable, balanced and pleasant to drink from, you have done the job properly. The next batch will be quicker, more even, and unmistakably your own.
tag: Hand Building

Emily Hartley Author
Build height gradually by joining coils with slip and scoring, blending each seam before the clay dries completely.
YOU MAY ALSO LIKE
Coil Building Tall Vessels with Strong Seams
Sep 12
10Construct sturdy boxes by cutting accurate slabs and joining mitred edges with slip, then reinforce internal corners for strength.
read more
Slab Building Boxes with Neat Mitred Corners
Sep 8
10Learn how silica, alumina and fluxes interact to create durable glazes that fit your clay body well without crazing.
read moreWheel Throwing
-

ERRIC CATONA
Achieve smooth glaze layers by dipping pots quickly, stirring the bucket often, and wiping the base clean before firing.
May 19, 2016 at 5.12 pm
Reply
ERRIC CATONA
Create test tiles to compare layered glazes, recording results carefully to repeat successful colour and texture effects in future.
May 19, 2016 at 5.12 pm
Reply -
ERRIC CATONA
Arrange pots with even spacing, placing taller pieces away from elements and using stilts where necessary for stable firing.
May 19, 2016 at 5.12 pm
Reply
Hand Building
Your email address will not be published.