
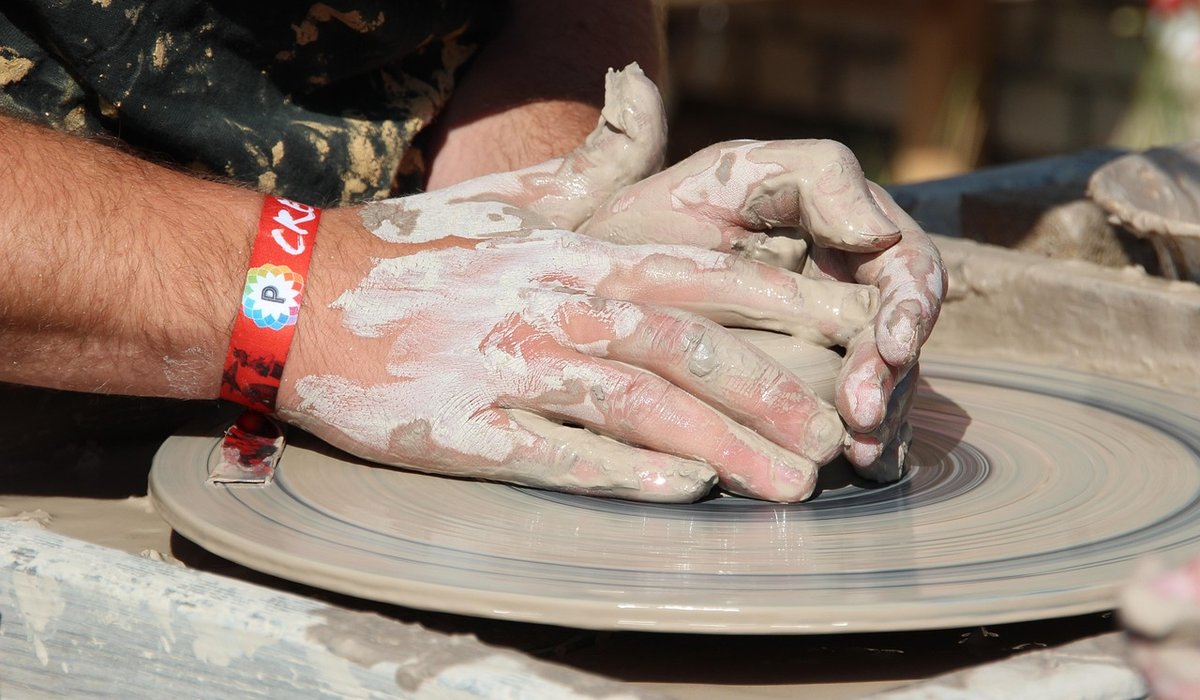
Making Frost-Resistant Plant Pots for Gardens
Why British Winters Break Pots
Most pots that shatter in a British garden do not fail because of one hard frost. They fail because of repetition. Water soaks into the clay body, the temperature drops below zero, and that water expands by roughly nine per cent as it turns to ice. The ice pushes the clay apart from the inside. When the thaw comes, the water migrates deeper, and the next freeze pushes again. Fifteen or twenty cycles between November and March will destroy anything porous, no matter how thick the walls are.
The good news is that the problem is entirely predictable, and it is solved at the making stage rather than on the patio. A frost-resistant pot is one where water cannot sit inside the clay in the first place. That means a dense, well-fired body, sensible drainage, and a shape that lets water leave rather than linger.
Start with the Right Clay: Grogged Stoneware
Choose a stoneware body with a healthy grog content before anything else. Grog is pre-fired clay that has been crushed and graded, and adding 20–30% of it to a plastic stoneware does three useful things: it reduces drying shrinkage, it opens the body so moisture can escape as vapour during firing, and it interrupts the path of a developing crack. A coarse grog of around 0.5–1mm is ideal for garden pots — fine enough to throw or hand-build, coarse enough to do its job.
Earthenware is the wrong choice for outdoor pots, however charming it looks. It stays porous even when well fired, so it drinks water and holds it. A low-grog, smooth white stoneware is not much better. Look for a body that vitrifies below the top of your kiln's range, and aim for a finished absorption figure of 2% or less — under 1% if you can manage it.
- Best choice: coarse grogged stoneware, mature around 1240–1280°C.
- Acceptable with care: mid-grog stoneware, if fired to full maturity.
- Avoid: earthenware, raku bodies, and heavily sanded bodies with no grog.
Shaping for Strength: Walls, Rims and Drainage
Wall thickness matters less than consistency. A pot with 12mm walls and a 30mm base will tear itself apart, because the thick base holds water and shrinks at a different rate to the walls around it. Aim for even walls of 8–12mm for a pot up to about 40cm across, and taper the base so it thickens only gradually.
Sharp internal corners are stress raisers — round them off with a rib. Compress every join thoroughly, and pay particular attention to the rim, where water gathers. A smooth, gently rounded rim sheds water well; a rolled rim with a deep lip underneath acts as a gutter.
Drainage is not optional:
- One central hole of at least 15mm, or several of 10mm, for any pot over 25cm.
- Raise the pot on three or four feet, or throw a foot ring and cut notches in it. Pots sitting flat on a paving slab wick water straight back up.
- Never let a saucer fill and stand full — empty it after heavy rain.
Drying and Bisque Firing Without Rushing
Uneven drying causes more losses than frost ever will. Once a large pot is formed, wrap it loosely in a plastic bag and let it dry for two to three weeks, unwrapping it gradually over the final days. Thin rims dry first and shrink first, which is exactly how cracks appear. Turn the pot occasionally, and keep it away from radiators and draughts.
Bisque fire slowly, and give the kiln a good long soak at the top of the cycle. The critical zone is 100–600°C, where chemically bound water and organic matter leave the clay. Rushing this section — anything faster than about 60°C per hour for a thick pot — traps steam inside the wall. Airflow matters too: prop the lid slightly until 600°C if your kiln allows it.
The Final Firing and Glaze Choices
Fire to the full maturity of your clay, not comfortably below it. A stoneware pot taken to 1250°C with a half-hour soak will have closed most of its pore structure, and that is what actually resists frost. Under-fired stoneware is porous despite the grog.
Glaze is decoration and surface protection, not the main defence. In fact, a badly crazed glaze is worse than none at all, because the network of fine cracks funnels water directly into the wall. Test any glaze you intend to use outdoors by boiling a glazed shard in water for an hour, drying it, then freezing and thawing it several times. If the glaze crazes, reformulate it or use a different one. Glaze the inside of the pot as well as the outside where you can — unglazed interiors simply soak up water from every watering.
Testing and Aftercare
Before committing a batch to a customer or a prized spot on the patio, test one pot. Weigh it dry, submerge it in water for 24 hours, weigh it again, then freeze it overnight and thaw it in a bucket of water. Repeat ten times. A well-made grogged stoneware pot will gain very little weight, and it will come through unchanged.
In the garden, keep pots on feet or bricks, empty saucers after rain, and avoid planting directly into a pot that has no drainage at all — a liner pot inside a decorative outer one is far safer. Do those things, and a properly made pot will outlast the plants in it.
tag: Garden Pottery

James Whitcombe Author
Shape shallow basins with textured rims, then glaze safely so birds can drink and bathe without slipping or injury.
YOU MAY ALSO LIKE
Creating Ceramic Bird Baths for Wildlife
Jul 7
10Apply coloured slips and oxide washes to leather-hard pots for natural finishes that enhance outdoor plant displays beautifully.
read more
Decorating Garden Pots with Slip and Oxides
Jul 1
10Learn to centre clay consistently by applying steady pressure and keeping your elbows locked against your body for better control.
read moreWheel Throwing
-

ERRIC CATONA
Master consistent wall thickness by pinching evenly and pulling slowly from the base to the rim with steady hand pressure.
May 19, 2016 at 5.12 pm
Reply
ERRIC CATONA
Turn leather-hard pots on the wheel to refine foot rings and create balanced forms without distorting delicate walls.
May 19, 2016 at 5.12 pm
Reply -
ERRIC CATONA
Create bowls and cups by pinching clay between thumb and fingers, then smooth surfaces with a damp sponge.
May 19, 2016 at 5.12 pm
Reply
Hand Building
Your email address will not be published.