
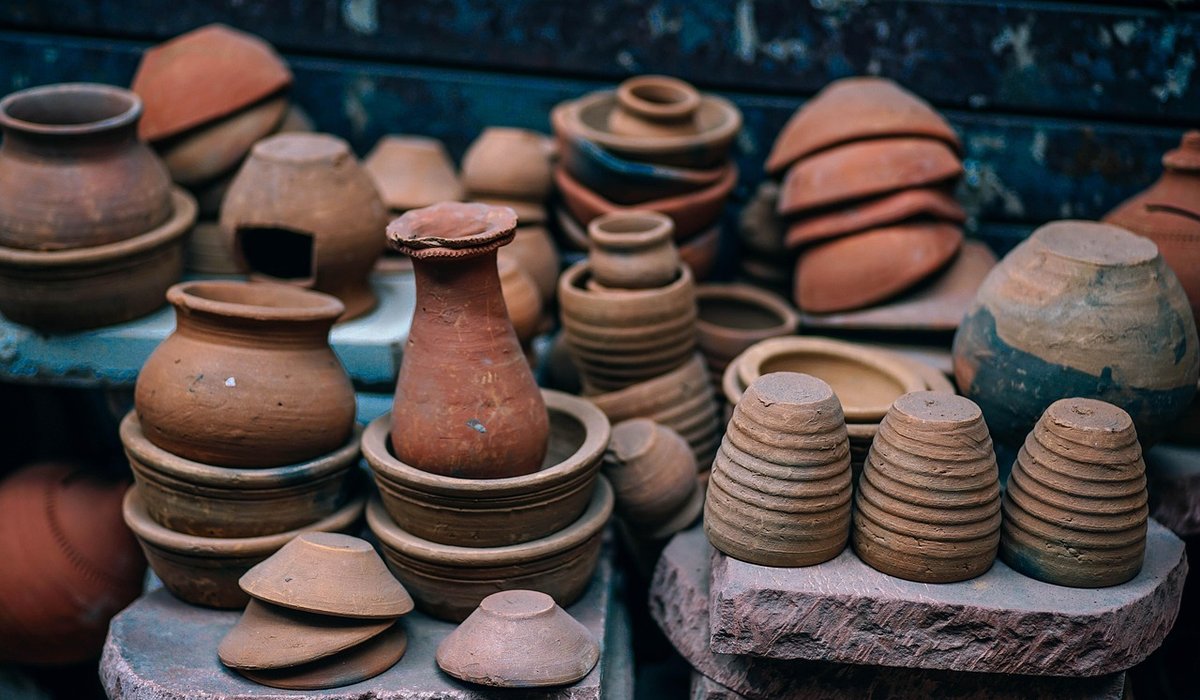
Testing Glaze Combinations on Small Tiles
Why small tiles tell you so much
Glaze combinations are wonderfully unpredictable. A glossy tenmoku over a satin celadon can break into rivulets of amber; a matte white under a copper red may bloom into unexpected pinks. You cannot fully predict these effects from a glaze bucket, a recipe, or a photograph. The only reliable way to know what will happen in your kiln, with your clay, is to test. Small tiles let you do that without risking a large vase, a dinner service, or a garden planter you have spent hours throwing and turning.
For pottery destined for the home and garden, repeatability matters as much as beauty. A mug needs a glaze that feels comfortable on the lip and survives the dishwasher. A garden pot needs a surface that withstands frost, rain, and UV light. Test tiles give you the evidence to choose combinations with confidence, and a record to return to months or years later.
Making consistent test tiles
Start with the same clay body you use for your finished work. A test on a different clay can mislead you, because clay body affects glaze fit, colour development, and surface texture. Roll a slab about 6–8mm thick, then cut rectangles roughly 5cm by 7cm. Consistency is the point: identical size, identical thickness, identical bisque firing.
- Add a hanging hole: punch a small hole near one corner while the clay is leather-hard. You can thread tiles onto wire for storage or dip them without touching the surface.
- Mark a code: incise a number or letter into the clay before bisque firing. A marker pen may burn away or fade; a carved code stays legible.
- Make extras: fire at least three tiles for each combination. One may chip, one may receive a thicker coat, and one can become your permanent reference.
- Bisque to your usual temperature: if you bisque to 1000°C for your pots, do the same for your tiles. Changes in bisque temperature alter porosity and therefore glaze absorption.
Let the tiles dry slowly and evenly. Rushing the drying can cause warping, which makes glaze thickness inconsistent and results harder to compare.
Applying and layering glazes
Record everything before you dip or brush. Note the glaze name, batch date, specific gravity, and the number of coats or dips. For brushed glazes, use the same brush and the same number of strokes for each tile in a set. For dipped glazes, time the immersion and stir the bucket thoroughly beforehand.
- Single glaze controls: always include one tile with each glaze alone. Without a control, you cannot tell which layer caused a colour or texture.
- Layering order: try A over B and B over A. Order often changes the result dramatically, especially with reactive glazes.
- Thickness variations: apply one thin coat, two medium coats, and one thick coat. Glaze thickness affects pooling, breaking, and opacity.
- Partial overlaps: dip half the tile in one glaze, let it dry, then dip the other half in a second glaze so the middle shows the overlap.
For garden ceramics, pay special attention to the bottom third of the tile. That is where glazes pool and where frost damage often begins. A combination that looks lovely on a flat tile may run badly on a vertical pot.
Recording your tests properly
Your notebook is as important as your kiln. A beautiful tile with no record is a lucky accident; a beautiful tile with a full record is a repeatable recipe. Write down the date, kiln load, firing schedule, top temperature, hold time, and atmosphere. If you fire both oxidation and reduction, keep separate logs.
- Tile code: give every tile a unique code, such as T-24-07. Use it on the tile, in your notebook, and on the photograph.
- Application notes: record glaze names, batch numbers, specific gravity, number of coats, drying time, and any resist or masking.
- Kiln position: note where the tile sat in the kiln. Top, bottom, front, and back can all differ in temperature and atmosphere.
- Photographs: photograph each tile in daylight and under warm indoor light. Include a grey card or a plain white sheet for colour reference.
A simple spreadsheet works well, but a paper notebook beside the kiln is hard to beat. Pencil does not smudge when your hands are dusty.
Reading the results and troubleshooting
Wait until the tiles are cool, then examine them in good light. Look for colour, surface texture, opacity, and any flaws. Run your finger over the surface. Hold the tile at an angle to catch the sheen. Compare it with your control tiles.
- Crazing: fine cracks in the glaze. Often caused by a glaze that fits the clay poorly. Try a thinner application or adjust the recipe.
- Pinholing: small holes in the surface. May come from dust, oil, or too rapid firing. Clean tiles and slow the early part of the firing.
- Crawling: glaze pulls away from the clay. Usually too thick a layer or a dusty surface. Apply more thinly and wipe tiles before glazing.
- Running: glaze flows off the tile. Reduce thickness or fire slightly lower. For garden pots, avoid runny glazes near the base.
If a combination fails, note why. A failed test is not wasted time; it narrows your options and teaches you how your materials behave.
Repeating successful combinations
Once a combination works, make a larger test piece before committing to a big pot. A small bowl or a tile of 10cm by 15cm will show how the glaze behaves on a curved or vertical surface. Adjust your application to the new size: a pot needs more glaze than a tile, but not proportionally more, because runs and pools behave differently.
Keep your successful tiles in a reference library. Store them by code, with a photograph and a note in your notebook. When a customer asks for that soft green over iron red, or a garden planter that matches a favourite mug, you can return to your tests and repeat the effect with confidence. In pottery, as in gardening, the best results come from patient observation and careful records.
tag: Glazes

Sophie Ashworth Author
Arrange pots with even spacing, placing taller pieces away from elements and using stilts where necessary for stable firing.
YOU MAY ALSO LIKE
Loading a Kiln for Balanced Firing
Aug 28
10Learn the differences between bisque and glaze firings, including temperature ranges, soak times and cooling rates for best outcomes.
read more
Understanding Bisque and Glaze Firing Cycles
Aug 22
10Identify causes of cracking, blistering and uneven glaze results by checking thermocouples, element health and firing schedules carefully.
read moreWheel Throwing
-

ERRIC CATONA
Stoneware offers durability and a range of firing colours, making it ideal for mugs, bowls and ovenware used daily.
May 19, 2016 at 5.12 pm
Reply
ERRIC CATONA
Earthenware fires at lower temperatures with warm colours, while porcelain demands higher heat and careful handling for translucent results.
May 19, 2016 at 5.12 pm
Reply -
ERRIC CATONA
Save dried scraps by slaking them in water, mixing to a workable consistency, and wedging before storing in sealed bags.
May 19, 2016 at 5.12 pm
Reply
Hand Building
Your email address will not be published.